

Just purchased our trackers? GREAT! Follow this guide to get started.
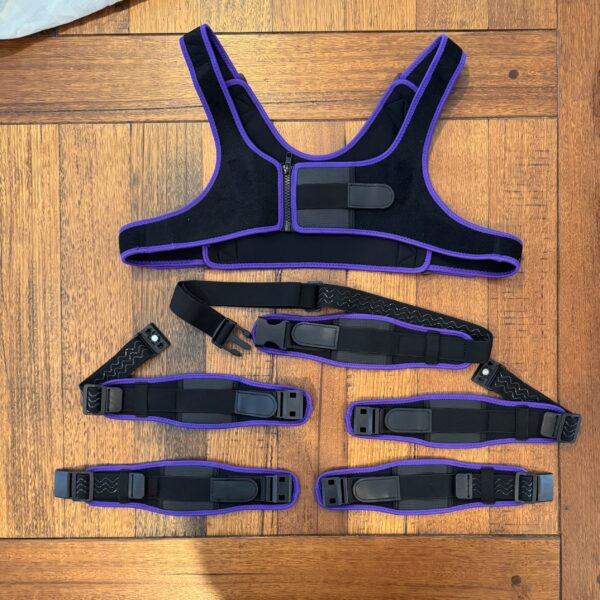
What’s in the box?
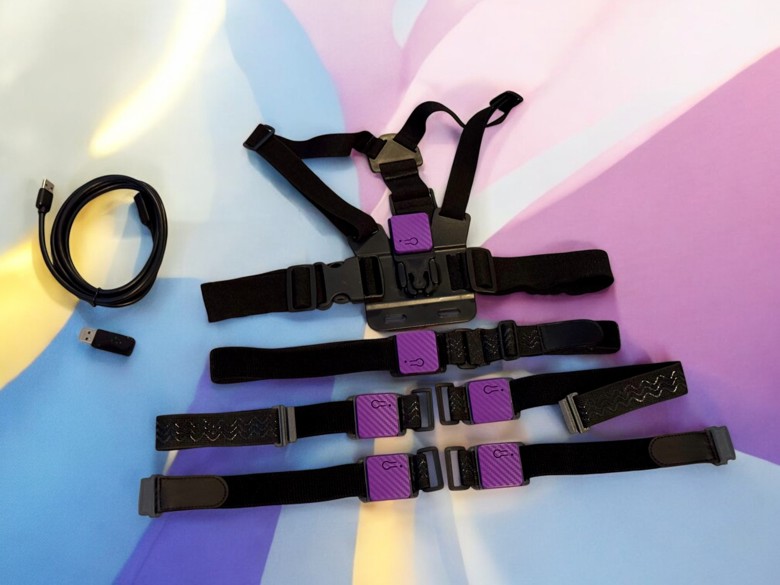
If you ordered a full set, you should have:
- 6 – 10 Trackers*
- Straps
- Mounting Trays
- Clips
- USB C cable
- Charging Dock*
- Chest Harness
- USB Extension Cable
- Receiver*
- Spare parts
* Note: Number of trackers, and Dock will depend on the package you purchased. The receiver may vary in terms of design or style. Some will be USB-A Male, or USB-C Female.
Step 1: Download & Install SlimeVR Server
Download and install SlimeVR Server here. Once installed, You can open the application. “Normal” Slimes will have calibration and wifi pairing step, which you can skip.
Step 2: Plug your trackers in to charge
Your trackers will most likely come near 100% charged, but sometimes they can get knocked about in shipping, causing the button to be pressed and turn on. If this is the case, one or more of your trackers may have been active.
Plug each tracker into the dock, and plug the dock into a USB charging port or your PC. It is recommended to plug your dock into a wall charger, since pluging it into a shared dock on your PC may limit the charging rate.
Your trackers should come paired already, but if they aren’t you’ll need to download some additional software. nRF Connect for Desktop and Serial Terminal (install it via nRF Connect for Desktop).
Step 3: Connect the receiver
Plug your Receiver into the USB Extension cable, and plug the other end of the extension cable directly into your PC.
Note: NRF Slimes don’t have the same power draw as wifi slimes, and therefore have lower range. Placing your receiver somewhere high (above your playspace is ideal) will give you the best coverage.
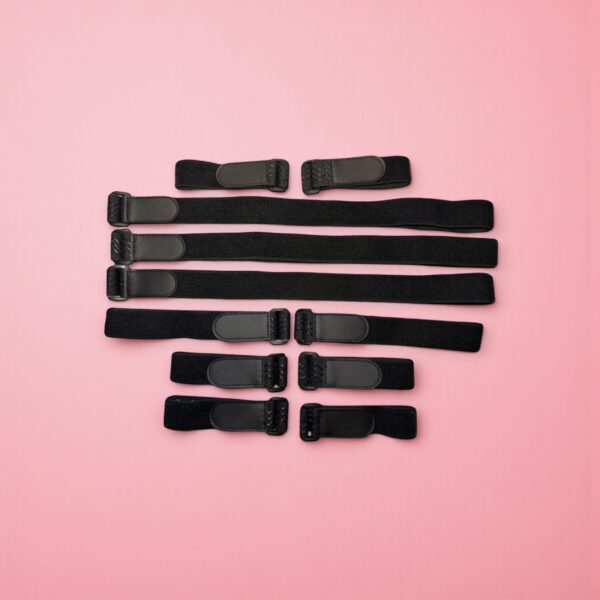
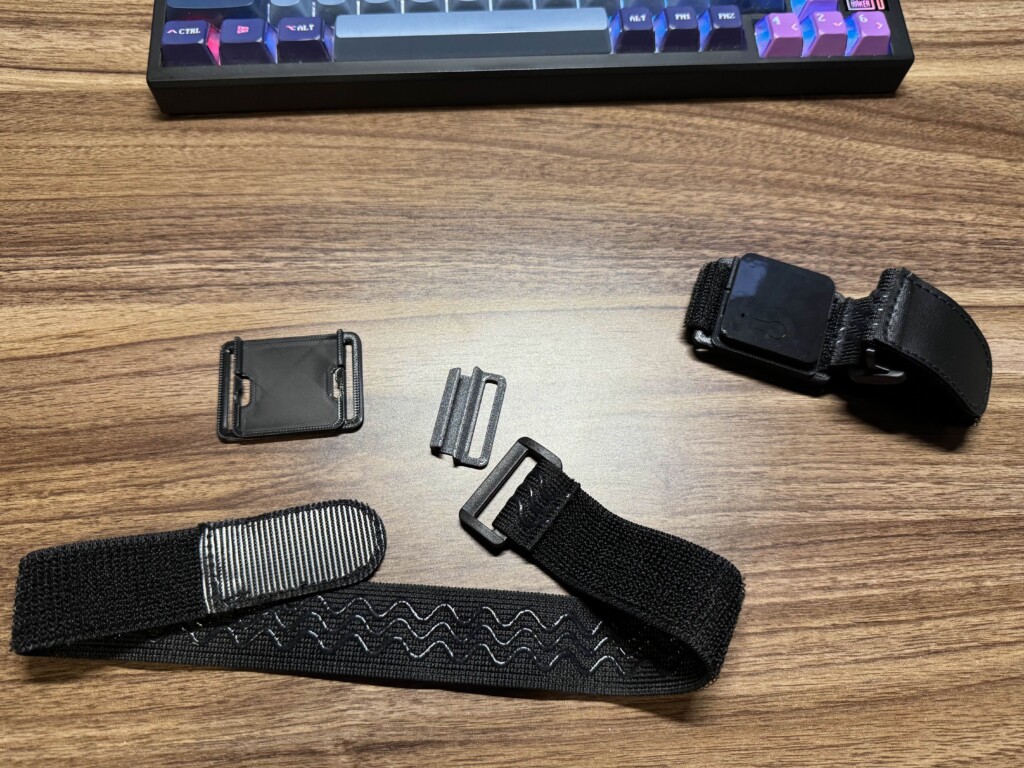
Step 4: Set up your straps
Your straps are made up of 3 components:
- Velcro Strap
- Tracker Mounting Tray
- Hook (optional)
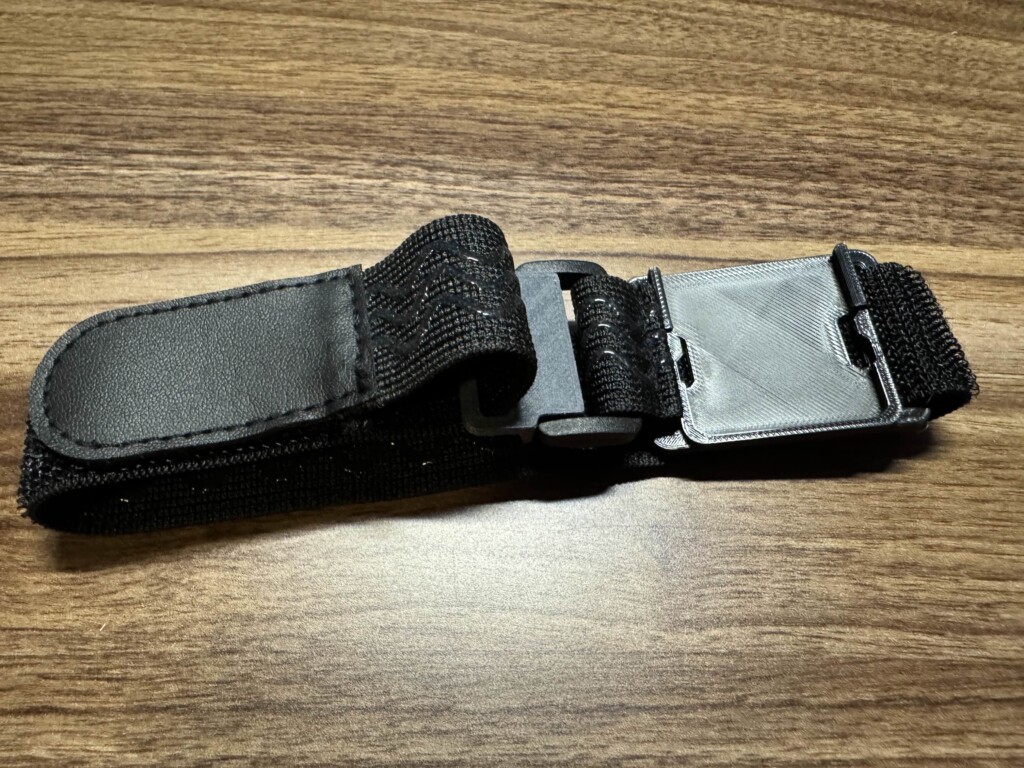
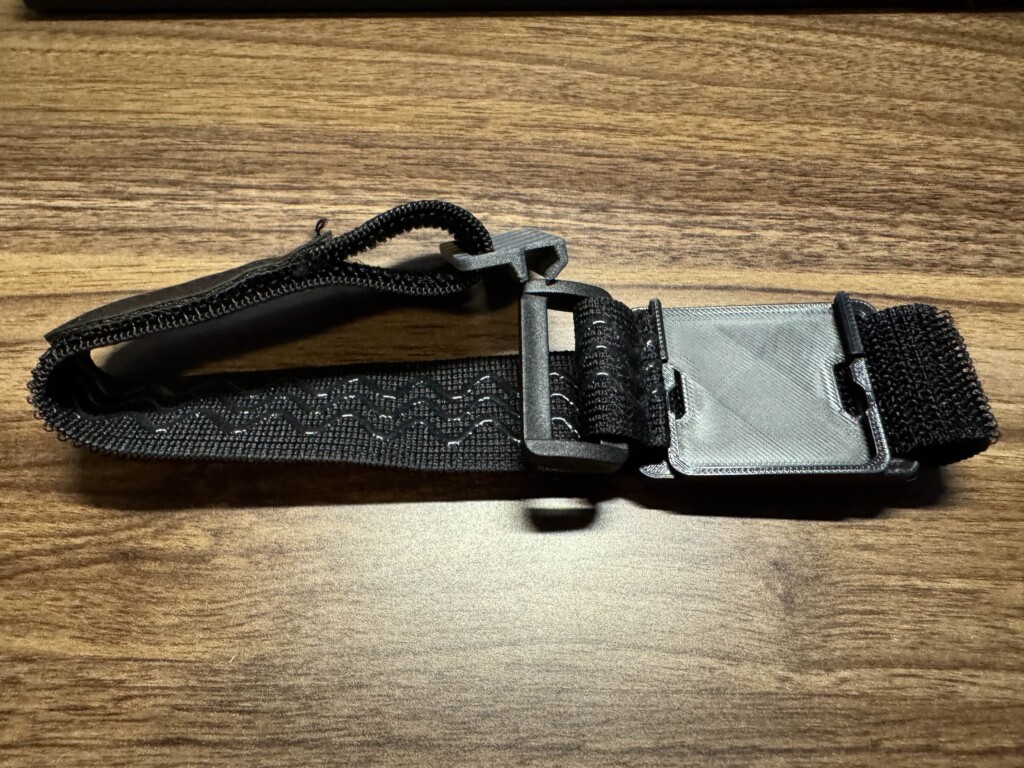
Refer to the gallery images on the steps.
- Grab a hook, tray, and strap.
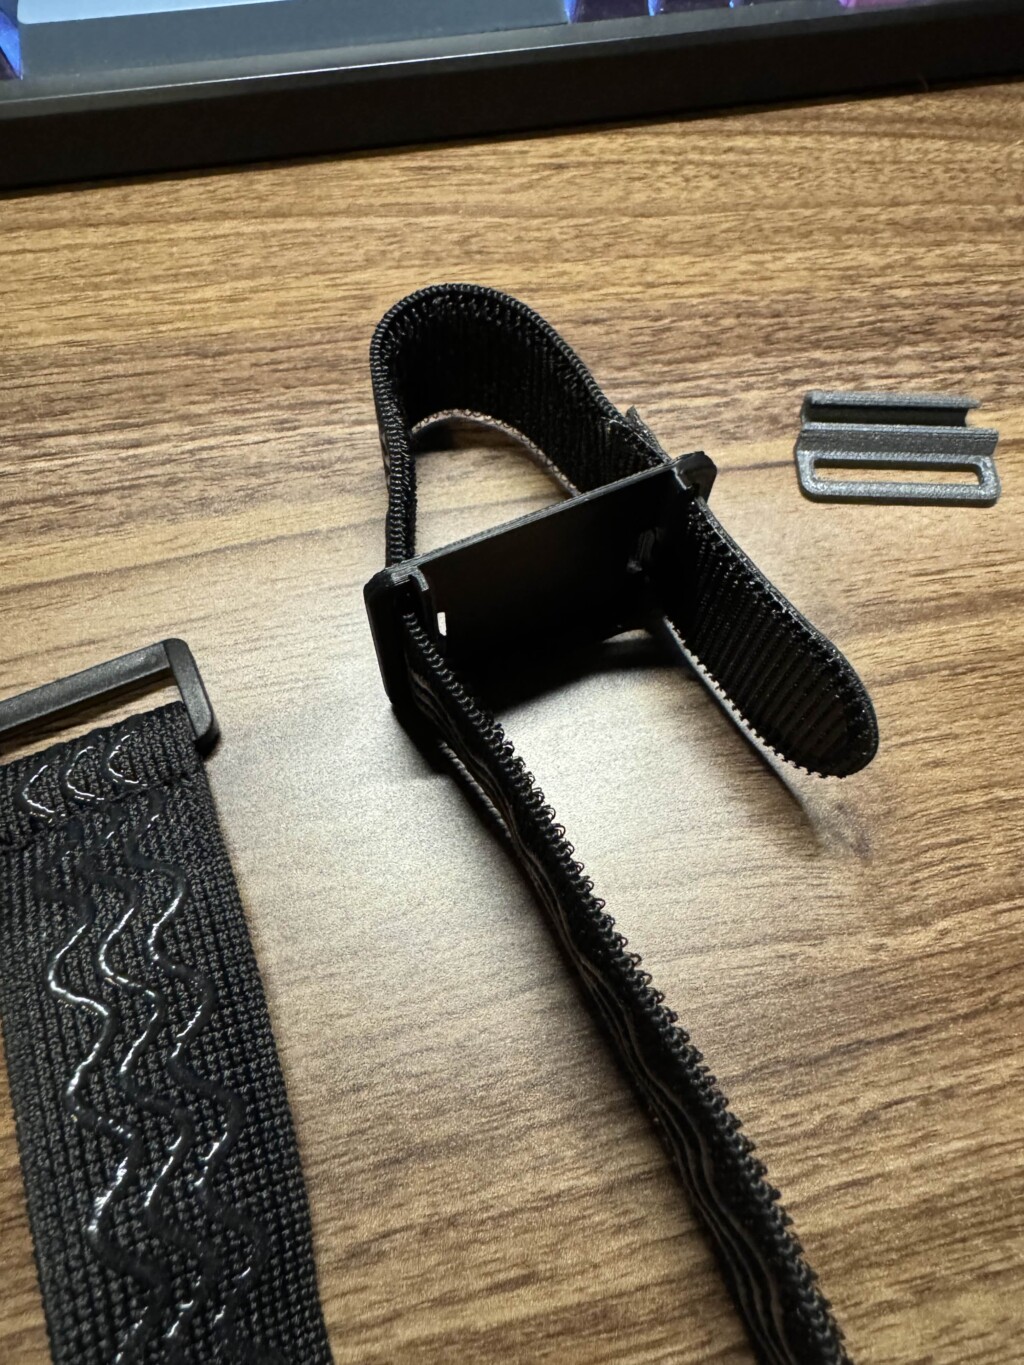
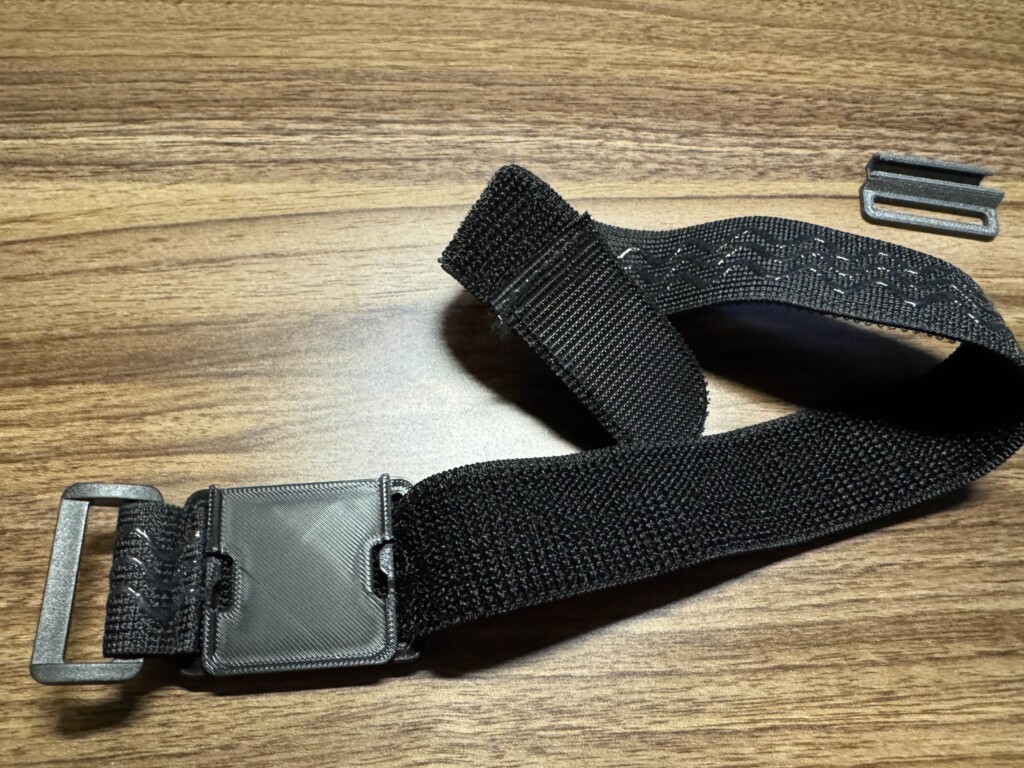
- Thread the strap through the tray with the silicone facing AWAY from the tray.
- Thread the strap back through the tray. The velcro should be facing up, with the silicon side facing the surface.
- Attach the hook side of the hook to the plastic end of the strap, facing downwards. loop the velcro through the hook loop, and stick it down.
- Attach the strap to your body using the hook, then adjust the velcro to be firm, but not too tight. If shouldn’t be uncomfortable, but it also shouldn’t move on your body.
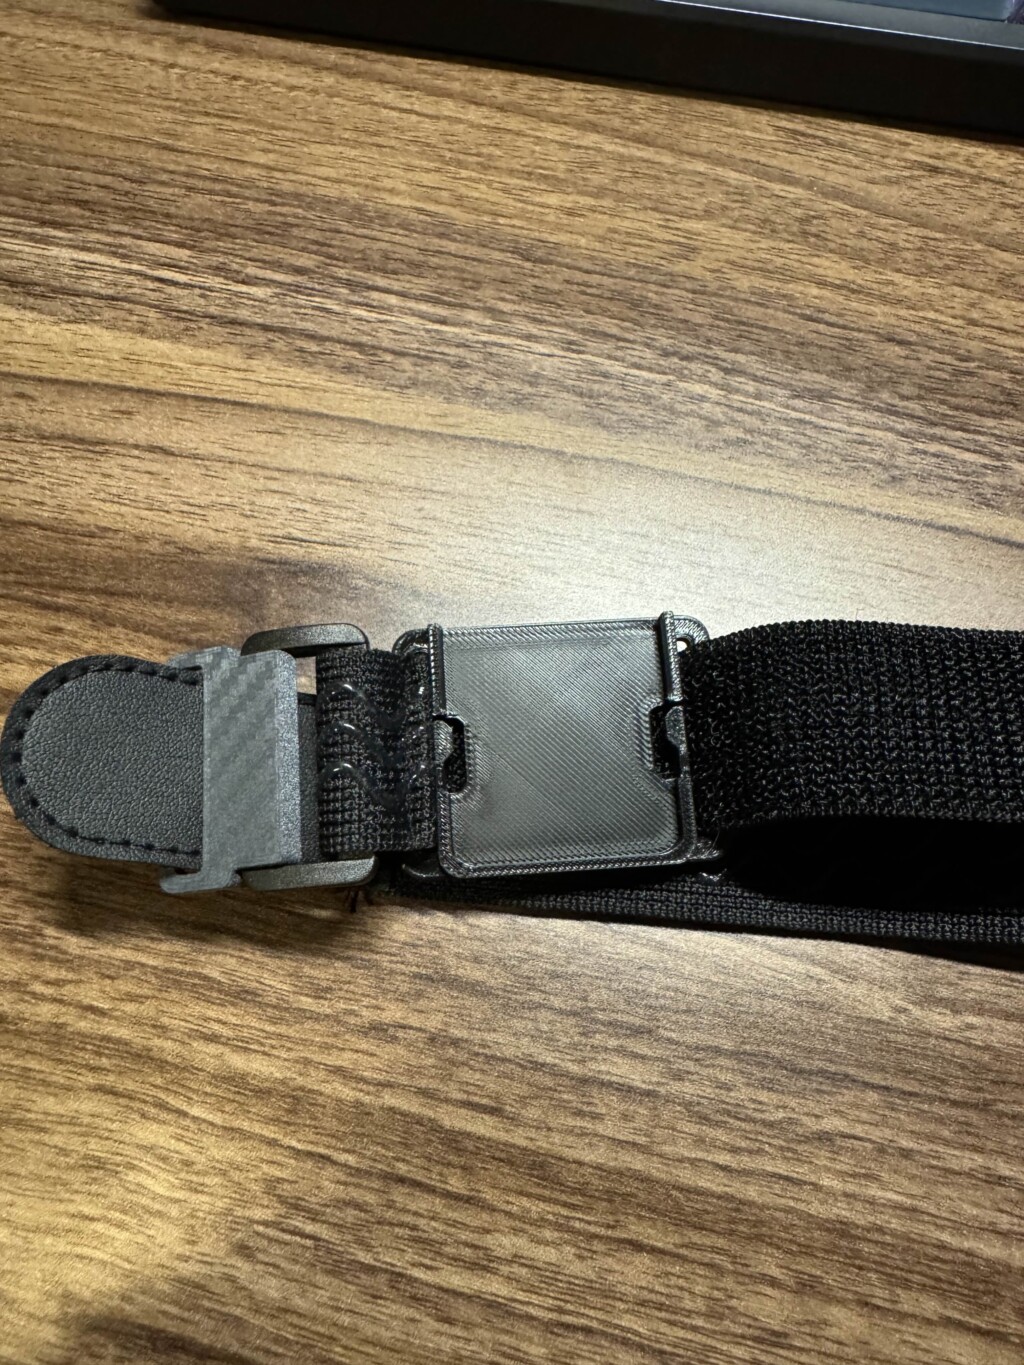
- Slide the tracker with the USB port facing DOWN INTO the tray. It should not be facing out of the tray. (It can actually be used both ways, but this is best for new users).


To turn on your tracker, push the button once. If they are powered in the charging dock, they may already have turned on.
Step 5: Turning On Your Trackers
With the default firmware, each tracker should automatically switch itself off after a period of time (generally 15 minutes of inactivity).
Push the button ONCE to turn it on. To test if it’s connected and working, you should see it highlighted in SlimeVR Server:


To turn your tracker off, simply hold down the button. It will either light up solid then fade off, or not light up and fade off (depending on firmware version).
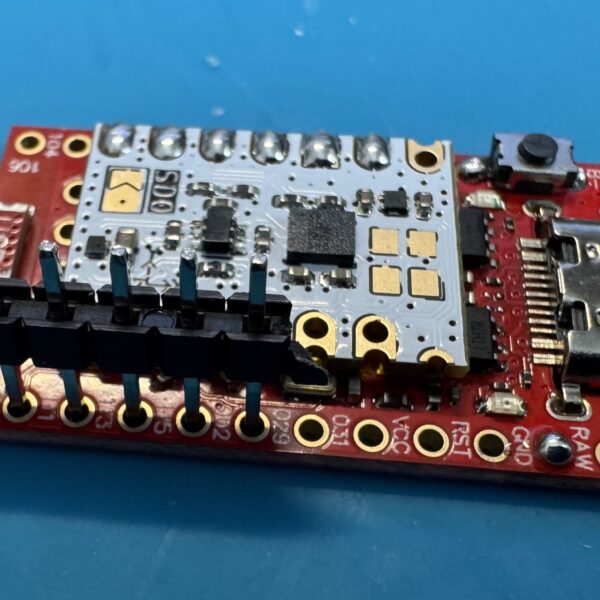
Button Functions
To keep Smol Slimes as small as possible, all functionality has been moved to one single “SWT” button. Different combinations do different things:
1 Press: Resets the tracker.
2 Presses: 1 Side Calibration mode. Press the button twice, leave on a flat surface, and wait for the light flashes. One flash -> Solid (while calibrating) -> 4 rapid flashes for successful calibration.
3 Presses: Pairing mode. Flashes fast every second. If your tracker was accidentally placed in pairing mode, you can exit by holding down the button to power it off and on, or simply pressing the button once.
4 or 5* presses: Avoid if you don’t intend to flash firmware! DFU mode. DFU mode allows you to flash new firmware or Bootloader to your tracker. Flashing incorrect firmware can make your tracker stop working, so be sure to select the right one! Ask in the SlimeVR Discord if you are unsure. To update your firmware, press the button 5 times while connected to your PC, and copy the .uf2 firmware to the “NICENANO” or “SLIMEVRTRK” that appears in your PC. Firmware docs TBA.
After turning your tracker on, it should appear in the SlimeVR server. From here, you can follow the SlimeVR docs and get started!
Pairing a tracker
If you need to re-pair your tracker(s), follow the docs here. We’ll have more Ibis Tracker Specific documentation soon!